It’s not too late to start many of your garden plants for the coming summer. Plenty can still be produced easily and economically. With a little investment into a basic system, you should be able to grow oodles of seedlings for years to come. Here is a list of things you are just in time to start seeding:
Vegetables: Cucumbers, summer squash, winter squash, pumpkins, kale, spinach, lettuce, tomatoes, cabbage, eggplant, peppers, etc.
Flowers: Cosmos, marigolds, celosia, zinnias, sweet peas, grasses, etc.
If you don’t have a greenhouse to move your seedlings into, that is no problem. You can move your plants in and out of the house on nights it is going to freeze or …you can “jimmy-rig” something to protect them during the cold nights….like bales of hay around them with a blanket. Yes, take the blanket off in the morning.
Now for a picture tutorial of BeeHaven’s Seeding Process:
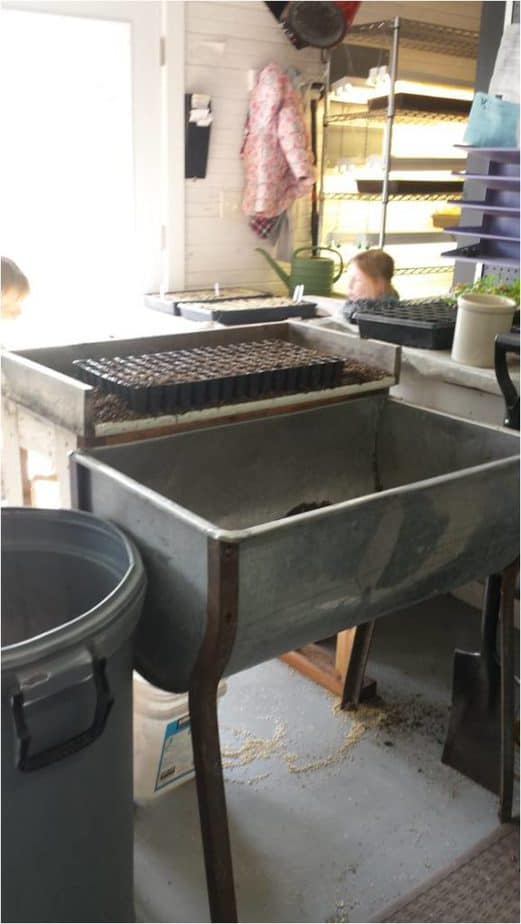
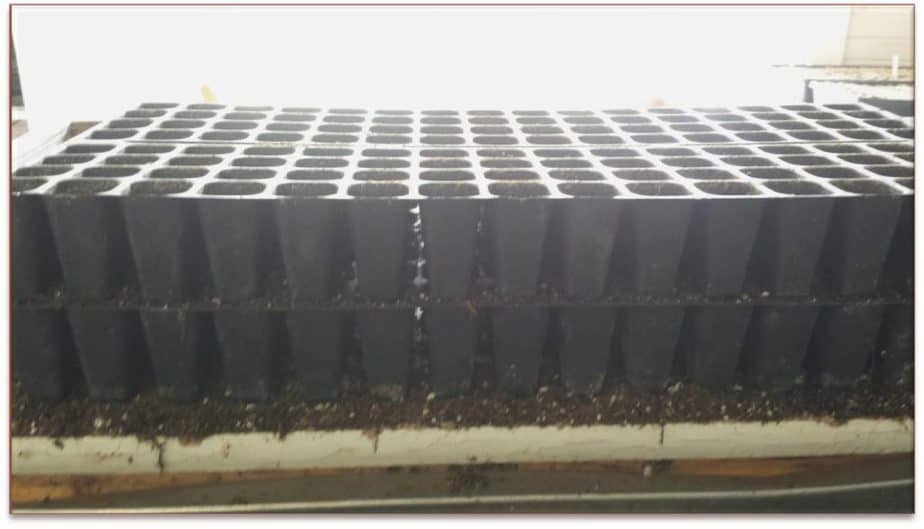
This is our set up for loading soil into the trays. We load the metal tub with sunshine #1 soil and fill the seed trays on that handy table that is slightly higher than the tub so that I can easily sweep the extra soil back into the tub.
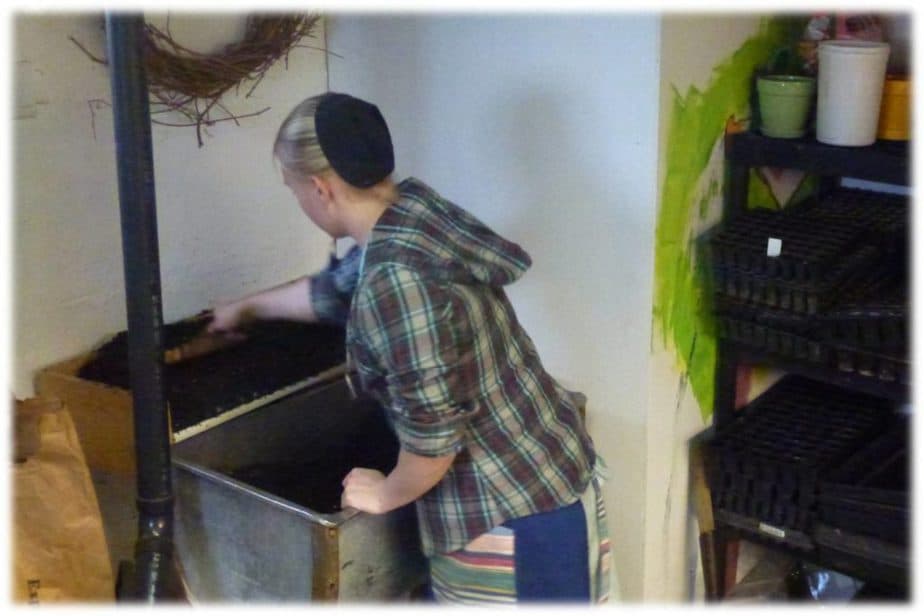
A tray is being filled. The metal dust pan is the main tool here.
I will use an empty tray of the same size to slightly compress the soil in the filled tray. This helps to ensure good root growth that will hold the soil together when it comes time for transplanting.
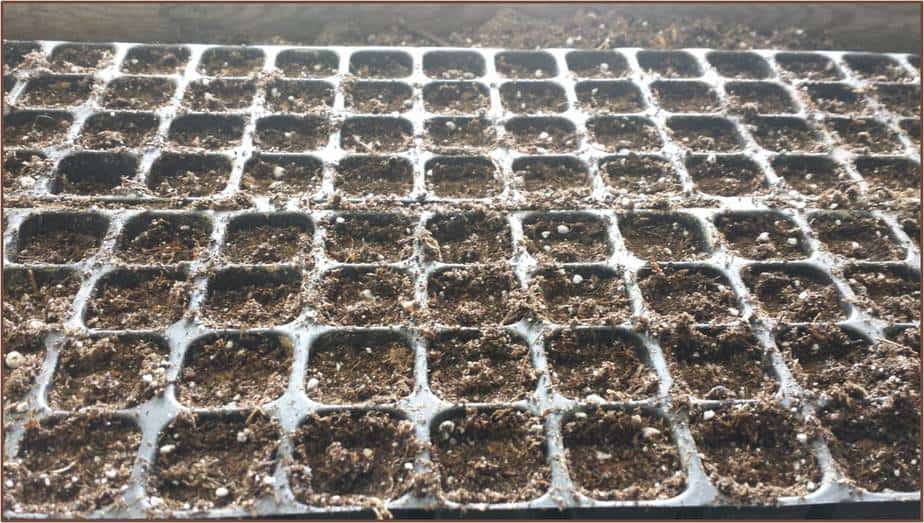
This is what it looks like after you compress it. Ready for seeding.
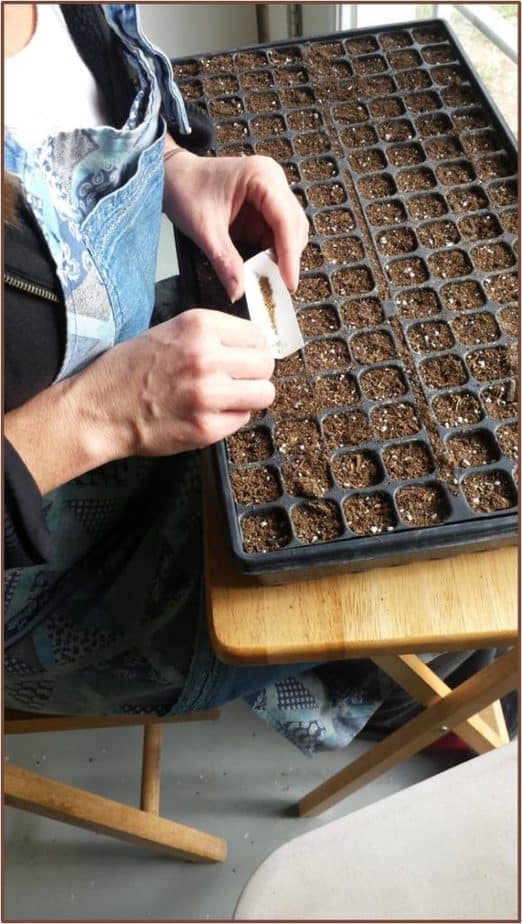
I have tried the fancy seeding gadgets out there and this is the one I prefer. It is the corner of a cereal or cracker box cut off and taped together. That and a toothpick is all you need.
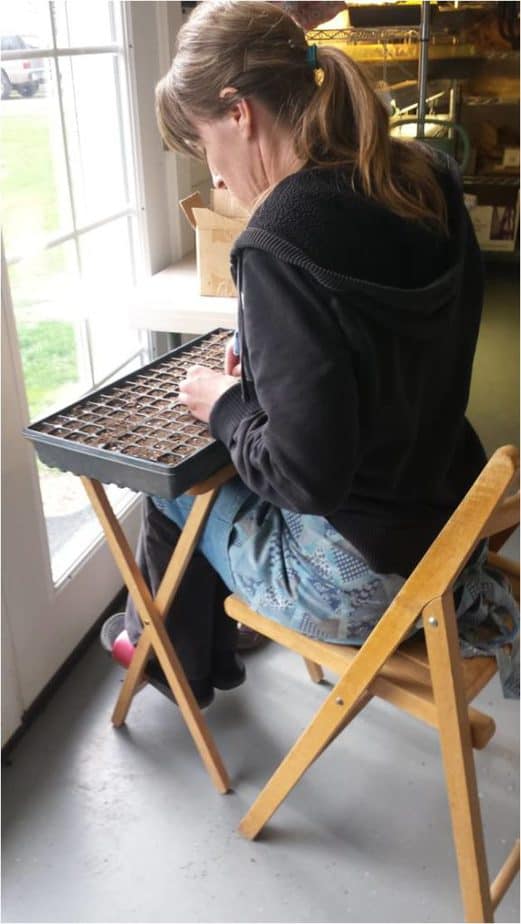
For my height (5’7″) this is the most ergonomically correct and comfortable position for doing all the seeding. It is a t.v. tray and a folding chair. Parked in front of a large window on a cold and rainy spring day is incredibly satisfying 😉
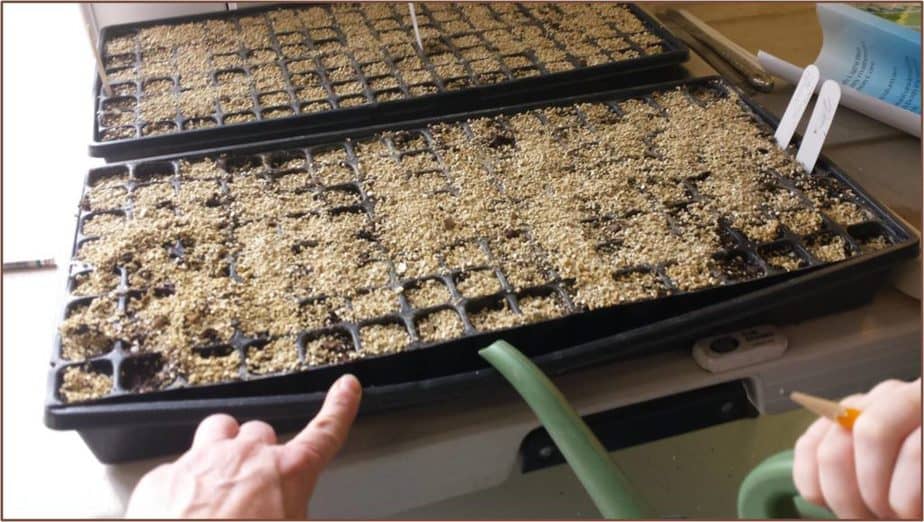
Finally we cover the seed (if that is what that seed requires, some seeds require light so you would not cover them) with vermiculite or more soil. I will place the seeded tray into another tray that has a bottom with NO holes. Then put in a bit of water and top with a clear cover to keep moisture in so that your seeds won’t dry out.
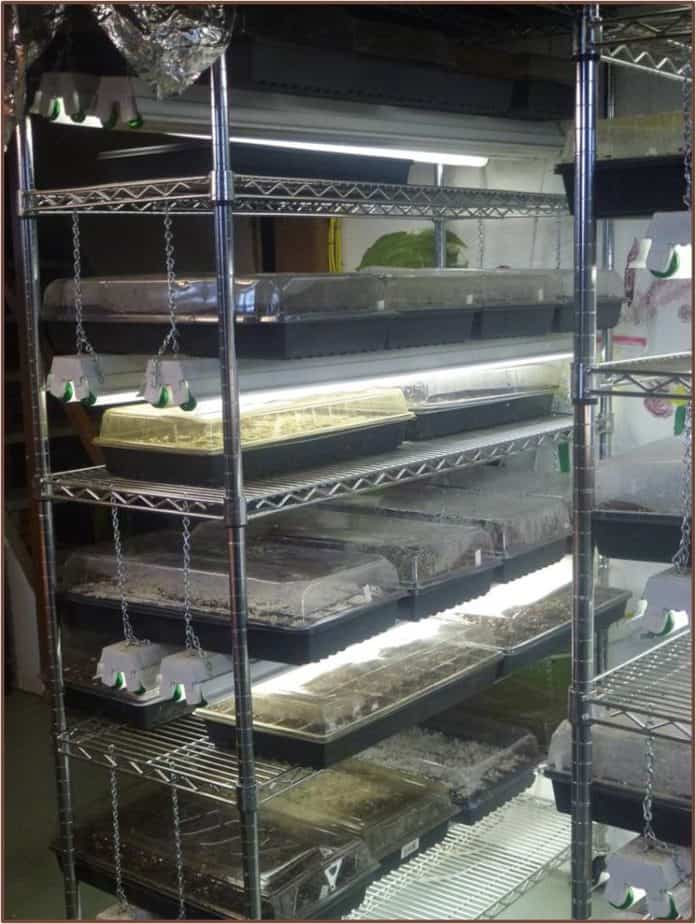
Most seeds like about 70 degrees for germinating. This is my in-door germinating station. Newly seeded trays go on top of the lights to get bottom heat. When you see about 1/3 of the seeds sprouting, take the clear lid off and move them under the lights to get some bright light so they don’t stretch. Keep that light just a couple of inches above your little plants. Also, try to keep your room temp. low. If everything gets too warm and you don’t have strong enough lights, your little seedlings will stretch and be “leggy”.
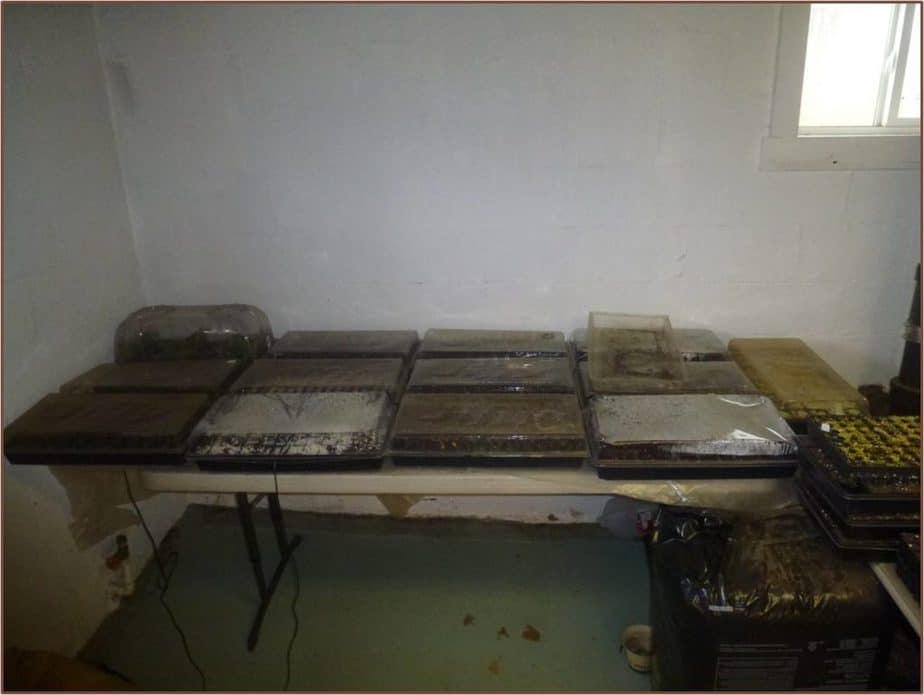
These trays are on a heating mat that is connected to a thermostat. I use it when I run out of space, but honestly…I prefer my rack method. It holds a lot more trays in a smaller space.
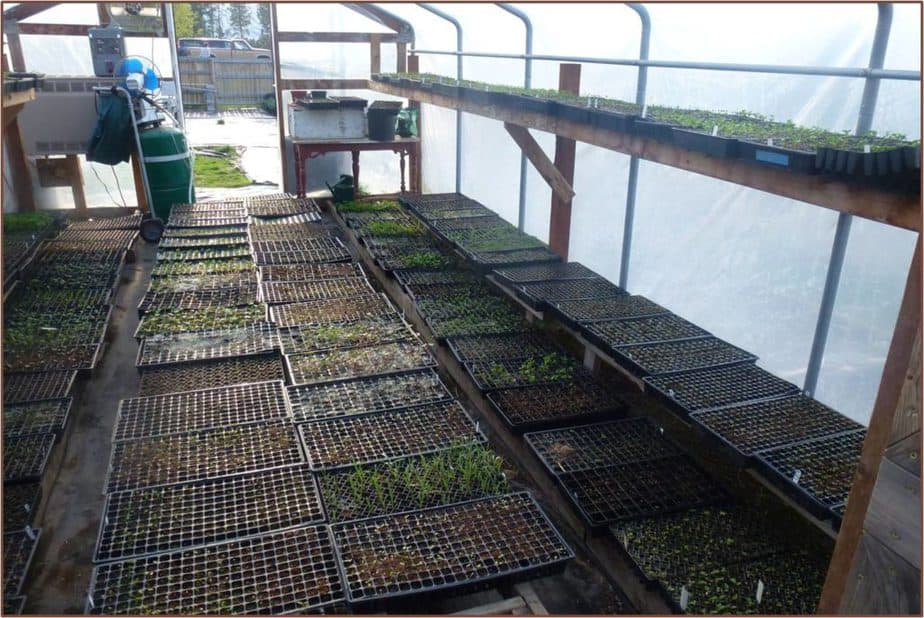
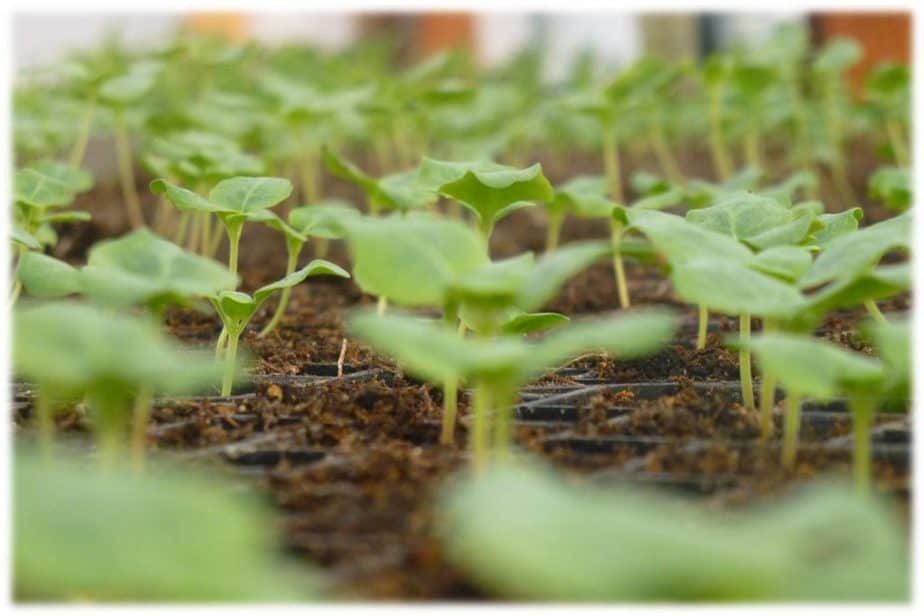
Once the seeds are all up and established, they go out to our small “nursery” greenhouse. I keep this heated at nights at just above 50 degrees for optimum growth. But mostly you need to keep it heated enough so that they do not freeze.
So Let’s re-cap the seeding process:
- Fill with soil (slightly damp)
- Slightly compress soil (bang or use another tray)
- Create hole if seed is large and needs to be covered.
- Sow Seed
- Cover? – Vermiculite
- Water
- Cover with clear dome lid
- Put on warmth if it needs it or some place cool if the seed requires cool.
Finally, here is an excellent on-line seed germination database for figuring out the germination requirements of different species. – http://tomclothier.hort.net/
Good luck and have fun. Most of the joy of gardening is in watching the plant grow and mature.
Related
